Visual Step by Step Guide to Damn Vulnerable Web Application (DVWA) Authentication
This post shows visually how to configure Owasp Zed Attack Proxy (ZAP) to authenticate for Damn Vulnerable Web App (DVWA) and how to check that the authentication is successful. Very useful for newcomers to ZAP.
Prerequisites:
- ZAP 2.9
- DVWA is already installed and running
Setting up the Authentication Script
Launch ZAP
Click on the + tab to open up the scripts tab
Right click on Authentication row and select New Script
Fill in the dialog box as shown below. Take note of the Script Engine that we are using which is Oracle Nashorn. The click on Save.
You should then see a new tab called Script Console which is where we will place our code next.
Copy the code below. Code source is from https://www.zaproxy.org/faq/details/setting-up-zap-to-test-dvwa/
function authenticate(helper, paramsValues, credentials) {
var loginUrl = paramsValues.get("Login URL");
var csrfTokenName = paramsValues.get("CSRF Field");
var csrfTokenValue = extractInputFieldValue(getPageContent(helper, loginUrl), csrfTokenName);
var postData = paramsValues.get("POST Data");
postData = postData.replace('{%username%}', encodeURIComponent(credentials.getParam("Username")));
postData = postData.replace('{%password%}', encodeURIComponent(credentials.getParam("Password")));
postData = postData.replace('{%' + csrfTokenName + '%}', encodeURIComponent(csrfTokenValue));
var msg = sendAndReceive(helper, loginUrl, postData);
return msg;
}
function getRequiredParamsNames() {
return [ "Login URL", "CSRF Field", "POST Data" ];
}
function getOptionalParamsNames() {
return [];
}
function getCredentialsParamsNames() {
return [ "Username", "Password" ];
}
function getPageContent(helper, url) {
var msg = sendAndReceive(helper, url);
return msg.getResponseBody().toString();
}
function sendAndReceive(helper, url, postData) {
var msg = helper.prepareMessage();
var method = "GET";
if (postData) {
method = "POST";
msg.setRequestBody(postData);
}
var requestUri = new org.apache.commons.httpclient.URI(url, true);
var requestHeader = new org.parosproxy.paros.network.HttpRequestHeader(method, requestUri, "HTTP/1.0");
msg.setRequestHeader(requestHeader);
helper.sendAndReceive(msg);
return msg;
}
function extractInputFieldValue(page, fieldName) {
// Rhino:
var src = new net.htmlparser.jericho.Source(page);
// Nashorn:
// var Source = Java.type("net.htmlparser.jericho.Source");
// var src = new Source(page);
var it = src.getAllElements('input').iterator();
while (it.hasNext()) {
var element = it.next();
if (element.getAttributeValue('name') == fieldName) {
return element.getAttributeValue('value');
}
}
return '';
}
Take note of the code snippet in highlighted above. As we are using Oracle Nashorn, we should be modifying the code to
// Rhino:
//var src = new net.htmlparser.jericho.Source(page);
// Nashorn:
var Source = Java.type("net.htmlparser.jericho.Source");
var src = new Source(page);
Setting up the Context
Go back to the Sites tab and double click on Default Context to bring up the Context dialog box
Click on the Add button
Include in the context \Qhttp://localhost/DVWA\E.* which is a regular expression. Click the Add button
You will then see the regex expression added
Go to Exclude from Context and add in the 3 entries as shown below
\Qhttp://localhost/DVWA/login.php\E
\Qhttp://localhost/DVWA/logout.php\E
\Qhttp://localhost/DVWA/setup.php\E
Values below are from https://www.zaproxy.org/faq/details/setting-up-zap-to-test-dvwa/
This is to exclude these urls from being spidered when the context is context is specified just before starting the spider. We shall take a look at that later
Go to Authentication section
Change from Manual Authentication to Script-based Authentication. Select the DVWA Auth script and click on Load button
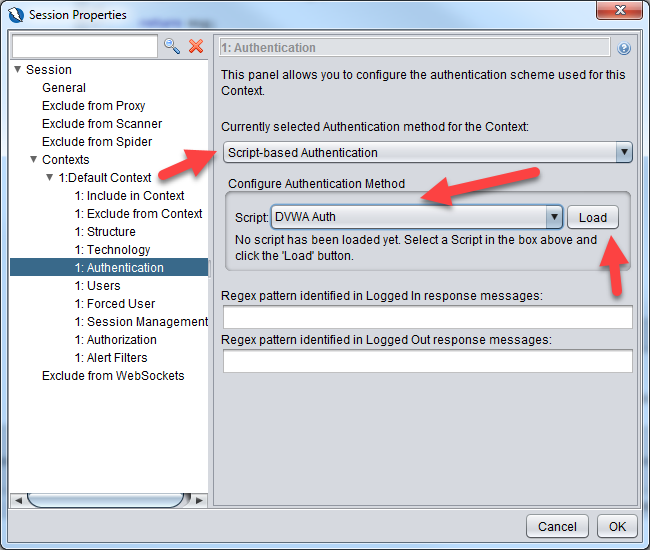
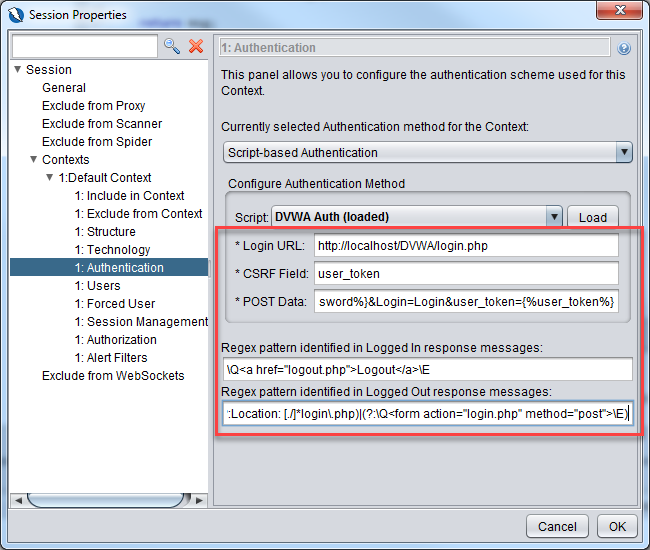
After clicking on Load button, you will see some new fields. The Login URL, CSRF Field and Post Data fields are specified by the authentication script that we created earlier. Take a look at the getRequiredParamsNames() function.
Fill in the fields with the values below. Values below are from https://www.zaproxy.org/faq/details/setting-up-zap-to-test-dvwa/
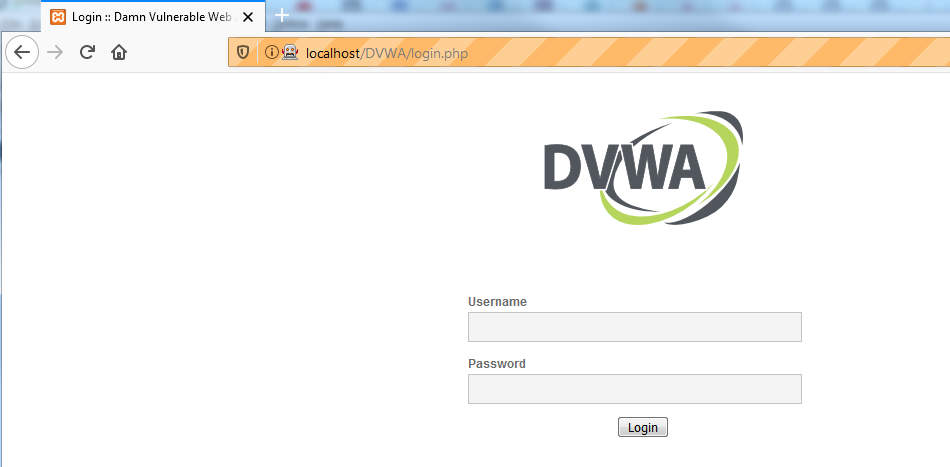
Login URL: http://localhost/DVWA/login.php
CSRF Field: user_token
POST Data: username={%username%}&password={%password%}&Login=Login&user_token={%user_token%}
Regex pattern identified in Logged in response messages: \Q<a href="logout.php">Logout</a>\E
Regex pattern identified in Logged out response messages: (?:Location: [./]*login\.php)|(?:\Q<form action="login.php" method="post">\E)
Go to the Users section and click on the Add button
Add in the administrator login as shown below.
Go to Forced User section and ensure that admin user that we have created above is selected and click OK button
Testing the Authentication
Ensure you enable Forced User by clicking on the Forced User icon in the toolbar
And at the bottom panel, click on the + icon to add in the Output and Spider tabs
Going back to the toolbar, click on the Firefox button to proxy Firefox through ZAP. We need to to populate the site tree. We shall see that soon.
Once Firefox is launched, open up the DVWA url: http://localhost/DVWA/login.php
As you proxy Firefox through ZAP, you will see the site tree populated.
Now, let’s see if the authentication works. Click on New Scan of the Spider tab.
Click on the Select button to select the Starting point for the spider. This is where you will select the DVWA url from the site tree we populated earlier.
Ensure that the context and user are set as below and click on Start Scan
The spider is now spidering the website
If you see the Authentication successful message in the output tab below. Your authentication is working.